Practically every tech product that Apple has ever manufactured has been hailed for blending simplicity with power into a mighty technological concoction. From capable Mac computers to iPhones and iPads (that are computers in and of themselves), it’s clear to see why it’s a household name that’s running the game. Despite their feats, Apple devices still need to the protection of a great VPN to ensure total online security. Perhaps at the surprise of some, all mobile phones should be protected by a Virtual Private Network, so a VPN on iPhone is a must.
Any device that can attain an internet connection is vulnerable if it’s not running on a Virtual Private Network. Luckily, most iPhone VPNs have been developed to compliment the seamless functionality of the Apple mobiles.
Knowing your way around

Once you’ve installed your VPN of choice from the App Store, you might be wondering how you go about using it. If you have experience with the same VPN on Mac, this will be somewhat familiar territory just in mobile format. Although, if this is your first experience with the VPN altogether, you’re at no disadvantage. Most iPhone VPN apps are very well received, so wrapping your head around one shouldn’t be much trouble at all.
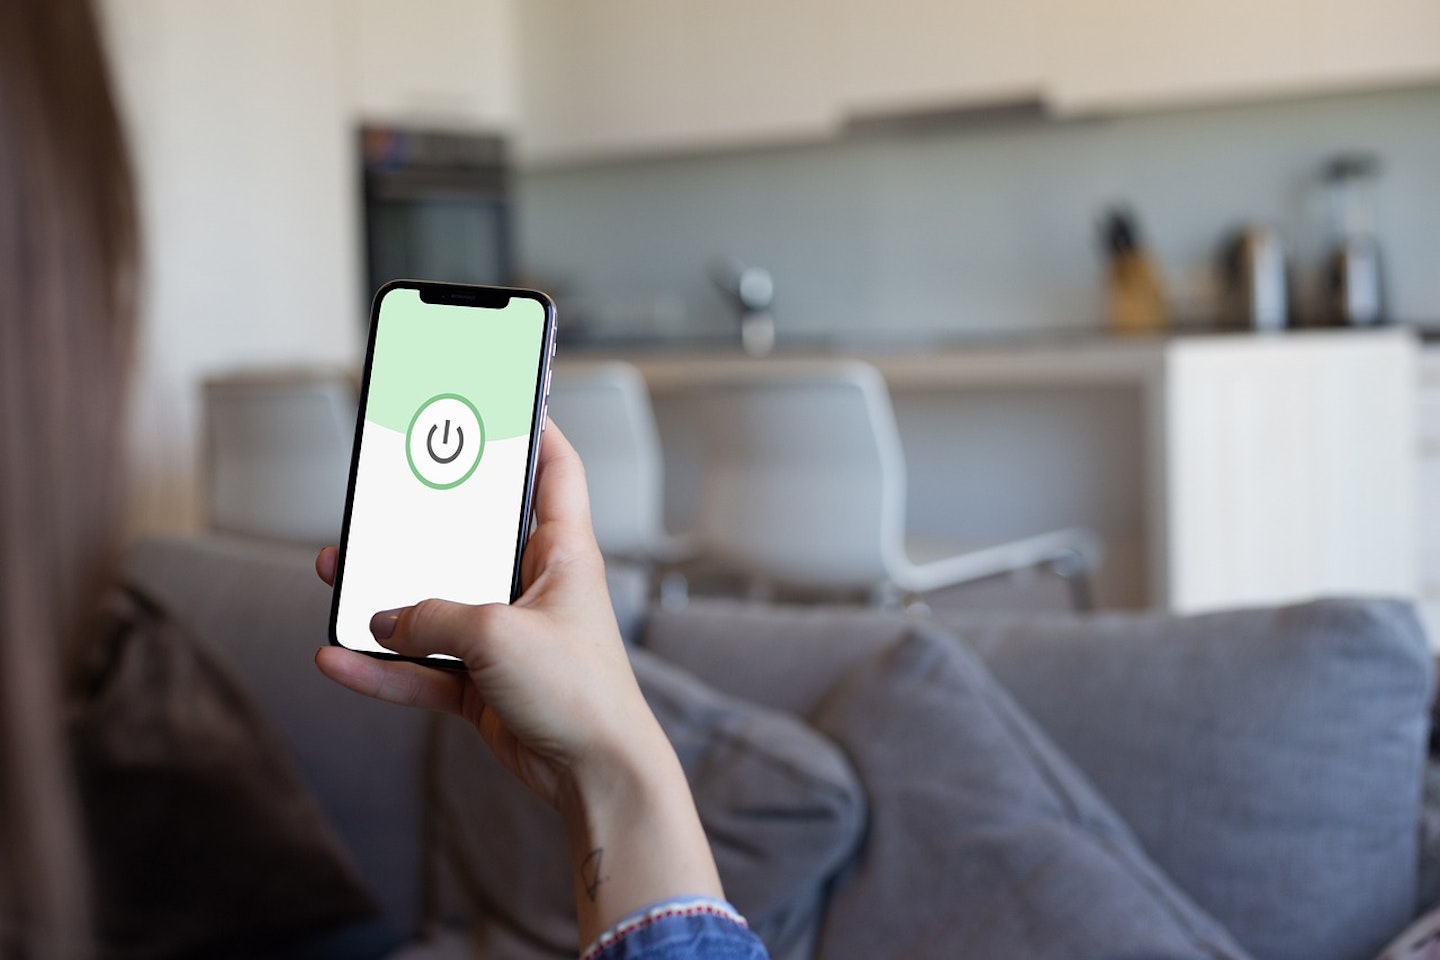
Let’s get that VPN app open, shall we? If you already have a subscription with this provider, you’ll just have to input your log in details. If not, just follow the instructions for signing up. After this is done, you’ll be directed to the main screen for the VPN. Often called the control centre, this is where you can manage your Virtual Private Network. There should be an activation icon that’s quite hard to miss, typically you can activate and disable the VPN with this button, it’ll also show here if the VPN is ever reconnecting.
Configure your settings
It’s important, no matter what the device be an iPhone, Mac or iPad with a VPN, that your settings are right. Like everything else on an iPhone VPN, the settings shouldn’t be any more than a few taps of the screen away. There may be a drop-down menu or a cog icon, these are the typical places you’ll find your Virtual Private Network’s settings.
The settings on offer and the degree of configurability will vary from provider to provider, but there are some options that are pretty universal. If your VPN offers multiple encryption protocols, you’ll be able to find and select these here. Many VPNs run leak tests and threat detectors automatically, at the very least they give you the option to run them manually. You’ll definitely find security features like these here. If your VPN has a kill switch in its arsenal, in the settings you should be able to make sure it’s enabled.
Server hopping
If you’ve decided to get yourself an iPhone VPN to bypass some geo-restrictions (we don’t blame you), you’ll need to know how server hopping works. As we’ve mentioned, every VPN will be a little bit different. More often than not though, you should be able to see what server you’re running on the VPN control centre. Wherever it’s situated, upon tapping this icon, it should present you with a more expansive server page. Here, you’ll be greeted by a long list of server locations and cities with a search bar if you have a specific one in mind.
Once you’ve selected the server you want to connect to, the VPN should automatically connect. If it’s already active, it’ll quickly reconnect to the new server. If your VPN is offline, you’ll likely have to manually activate it once you’ve chosen the different server.
Jack Barrell is the Commercial Content Writer for VPNs. He's hands-on when it comes to producing best-of articles, how-to guides, and product reviews for Virtual Private Networks. On his off-days, Jack can be found in the gym, at the movies, or flicking through a car mag.
