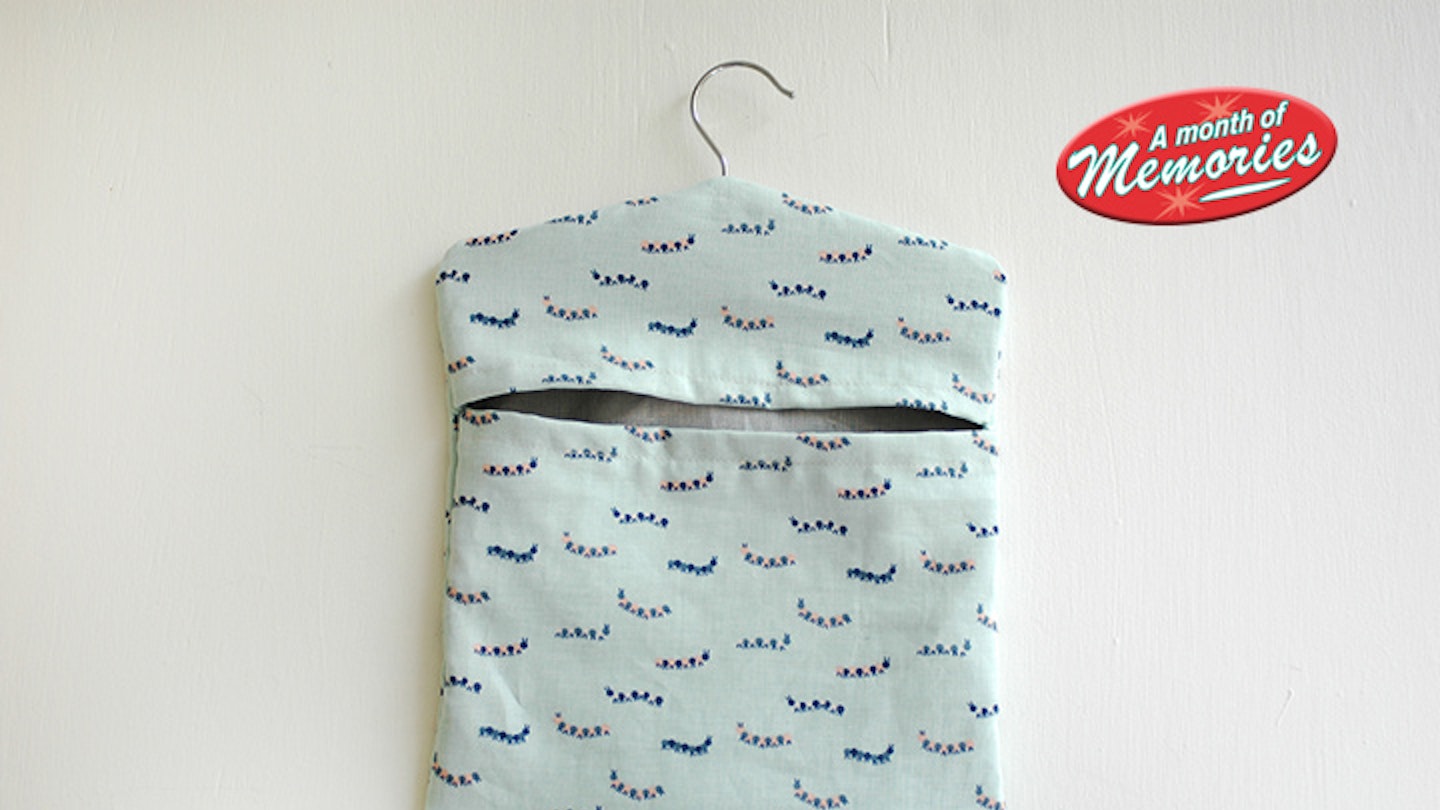
Do you want to make your own peg bag, but not sure where to start? Well, luckily for you we've found the perfect step-by-step guide to help you out. Whether you're a beginner or a pro, here's a fantastic place to start when it comes to creating your own peg bag.
Materials:
Outer fabric
Contrasting lining fabric
Basic sewing kit (pins, needle, thread etc)
Paper- you could use wallpaper
Scissors
Child's clothes hanger, ideally 25cm in width
Sewing machine
Shop: Peg Bag Essentials
 1 of 5
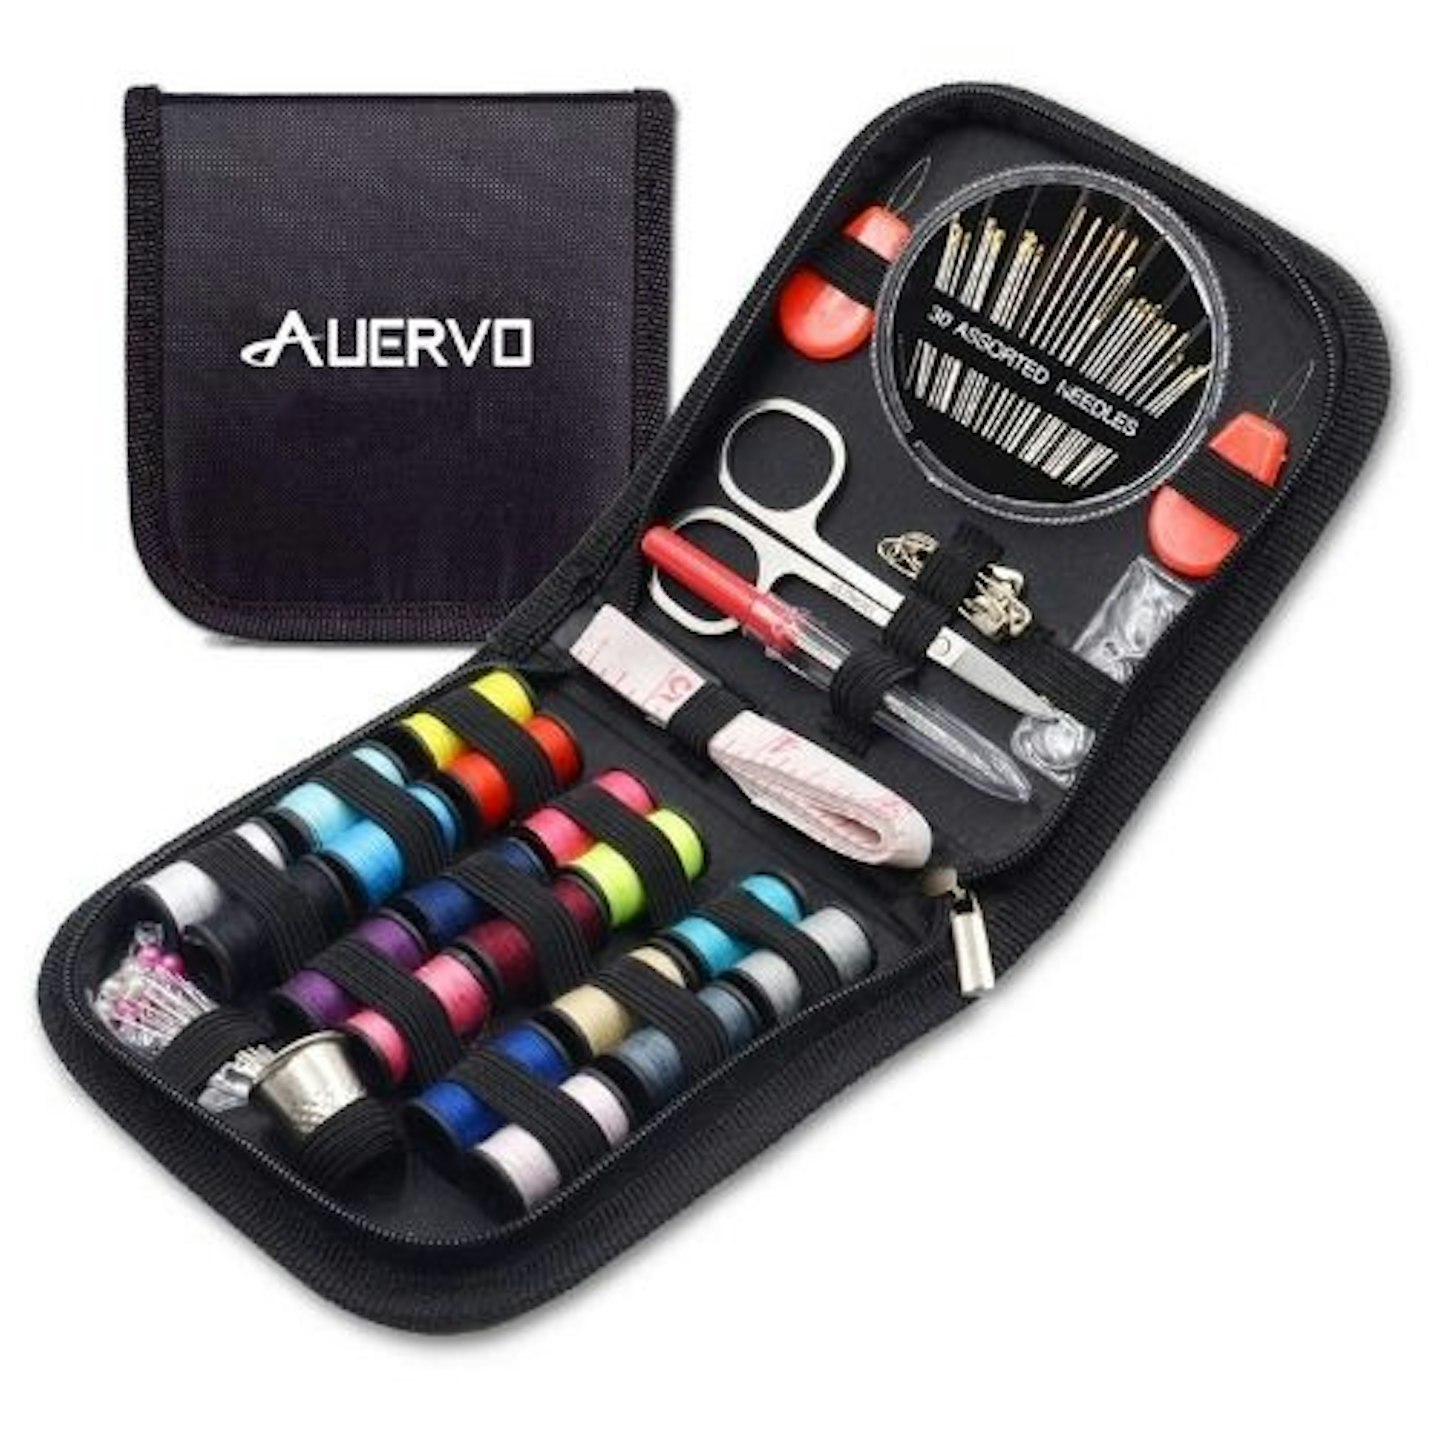
Travel Sewing Kit
Rating: 4.6 out of 5 starsSet includes:A pair of stainless steel scissors30 needlesTwo threadersTen colour pinsFive safety pinsThree white buttonsA measuring tapeA seam ripper18 spools of threadReview: "I ordered this as I needed to sew a button back on and was cheaper then ordering just a needle and thread!"This little kit has all the tools you'd need to make a quick repair and also includes a wide range of differently coloured threads. It all comes in a sturdy and small zip-up case that holds everything inside securely in place.""I'm most surprised about the quality of the product, especially considering how little it costs. I can't recommend this enough as it's great value and quality!"
 2 of 5
Plain Coloured Polycotton Fabric Material
Rating: 4.6 out of 5 starsReview: "Lovely material and very nice to work with."
 3 of 5
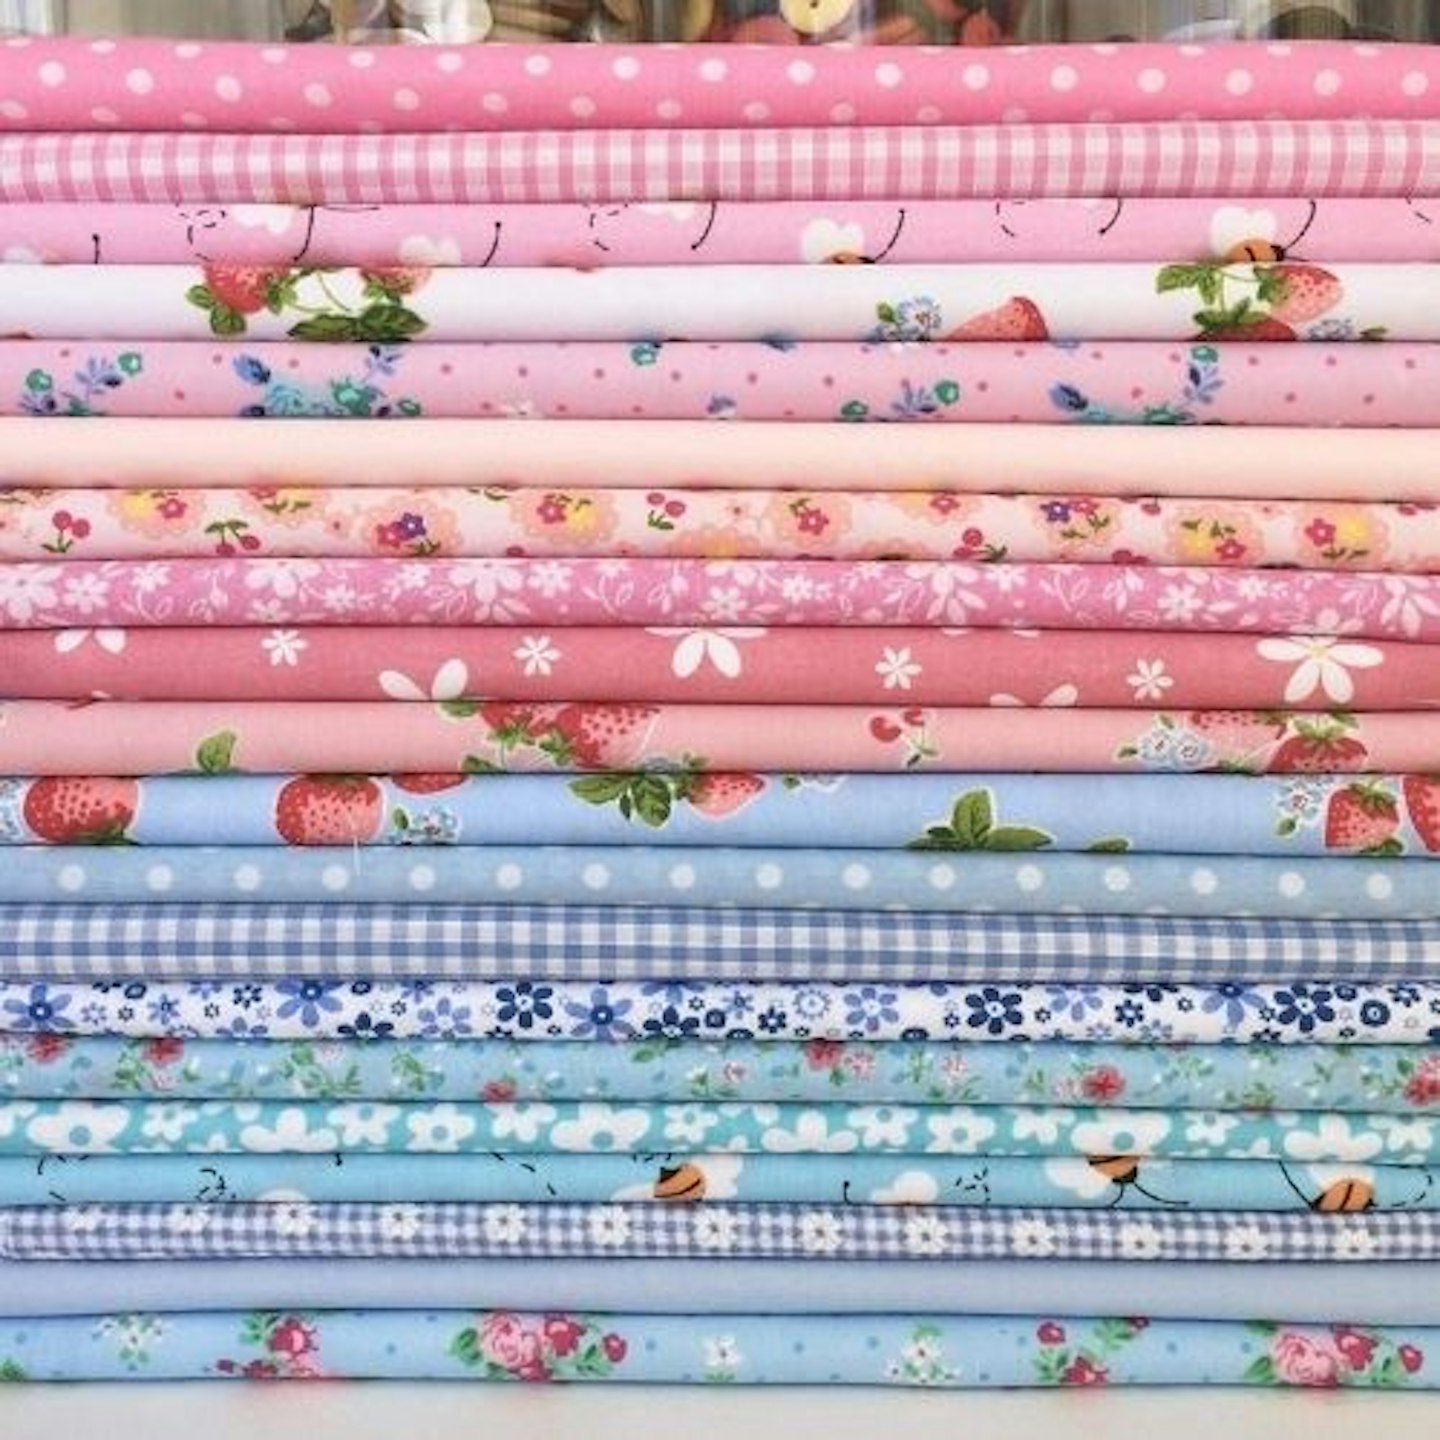
20 Piece Polycotton Bundle of Shabby Chic Soft Blues & Pink Fabrics
Rating: 4.4 out of 5 starsReview: "Beautiful bundle of very pretty colourful material at a good cost fab for quilting patchwork or anything for soft fabrics or book backing, which is popular now."
 4 of 5
Singer 1409 15 points Sewing Machine
Rating: 4.6 out of 5 starsReview: "Arrived spectacularly early, well protected in its box. Useful general machine with a variety of stitches. Excellent value for money."
 5 of 5
KPCB 201 Mini Sewing Machine with Extension Table
Rating: 4.1 out of 5 starsReview: "If you are a beginner dress-maker this is the right equipment for you.The eco-friendly machine is very easy to use and you can make simple crafts,bags and dresses using this economical sewing machine."
Instructions:
-
First make your paper patterns. The piece for the back part of the bag should measure 29cm x 35cm (11in x 14in) although the width may alter here depending on your hanger – you basically want to add 4cm (1.5in) more than the hanger width.
-
Using your coat hanger, draw around the curved edge and cut out. Make an identical paper pattern for the front, but make it 5cm(2in) longer. Then measure 24cm (9.5in) from the bottom and cut this section into two parts.
-
Next, pin your paper patterns to your fabric and cut out. You will need one of each in both fabrics.
-
Place each corresponding piece right sides facing, pin and tack, making sure to leave a gap for turning out your fabric. Sew around on your sewing machine with a seam allowance of approx 1cm (0.4in). Snip the corners, and turn out all the pieces and hand stitch the openings closed.
-
With your two front pieces, fold over a hem along the edges that will make the opening of your peg bag. While it is not necessary to have a hem here, it's nice to leave top stitching along the opening. Check that the front and back of the peg bag are now the same length by placing your front pieces on top of the back one. Stitch the hems on your machine as close to the edge as possible.
-
Place the back piece face up, and lay your two front pieces, right sides down on top of this. Pin and tack in place. You don’t need to leave a gap for turning this time as you will turn it out through the peg bag opening. But, you must leave a small gap at the top of the peg bag to insert the hanger. Stitch neatly on your sewing machine with a small seam allowance of around 1cm (0.4in).
-
Remove tacking thread, turn out your bag and put the hanger in place.
-
Then simply fill with pegs and adorn your washing line with your gorgeous creation! These also make lovely gifts, so be sure to hold on to your paper patterns to use again.

Pattern from Caroline Rowland for AO.com.
What to read next:
Lily Anderson is a writer at Bauer Media, where she tests products for titles such as Heat, Closer, What’s the Best and Mother&Baby.
Subscribe to the What’s The Best Newsletter to keep up to date with more of the latest reviews and recommendations from Lily and the rest of the What’s The Best team.
